|
|
|
 |
Photo Page 3 |  |
|
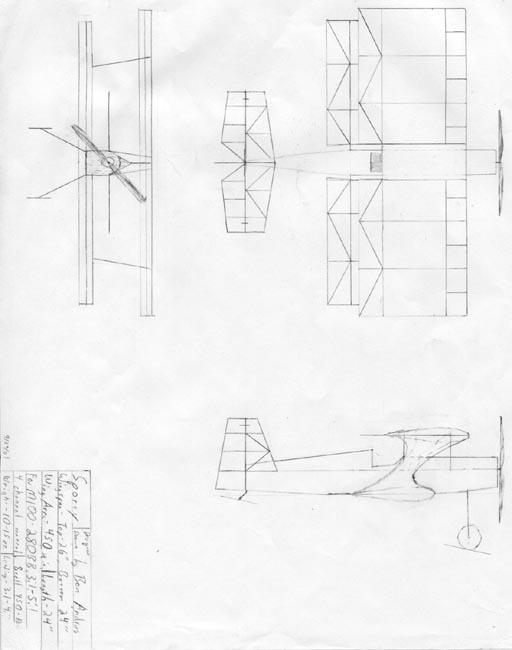
The Sporty I designed this biplane after I modified the Tiny to fly with an M100 and a 280BB. It was very fast and powerful. This plane is the Tiny wing on the bottom, with a 26" wing on top and a new fuse and tail group. It will fly with a 280, M100, 280BB, and 400. All of which should be geared. I have the most fun with the 280BB and 8 cells. All of these plans are free and have no copywrite, so feel free to share. All I ask is that you sent a picture and description of the plane if you build it. Also, you may e-mail me with any questions. The files must be pasted to another program. If you print them from Explorer, you will have a 66% Sporty. After printing, make sure that the letters and lines line up, and tape the plans together. |
|
|
|
|
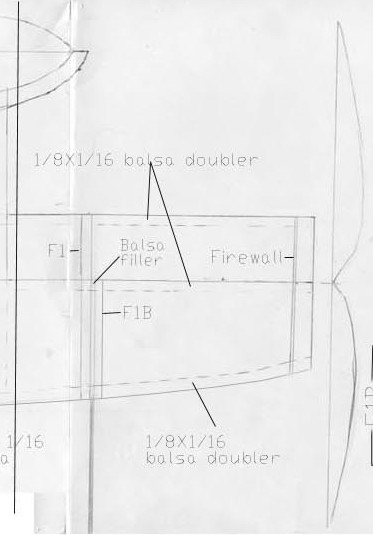
| Fuse Front The fuse is a stressed skin design, with the balsa sheeting there for more than looks. The fuse sides are cut from 1/16 sheet balsa, and the rear is framed up. Then the doublers are added. Don't forget to make a left and right! |
 |
 |
Fuse Center Then the formers and firewall are cut out. F2 is the landing gear support. It is two pieces of 1/8 balsa sandwhiching the gear wire. Put the wire on F2a and then fill the areas around the wire with 1/16 balsa. Sand it even with the wire and glue F2b. Join the fuse sides together with the formers and join the tail together. Then put crosspieces where indicated. Now build the cabanes. I used basswood so there would be no need for interplane struts. I cut the sticks to a rough length and glued them in place. I then took the uncovered wing and marked where the bottom of the center ribs would be when the top wing was at 0 degrees incidence. Then I cut the cabanes to length and made the saddles of 1/16 ply with 1/32 balsa running over the top to give the wing a flat platform. |
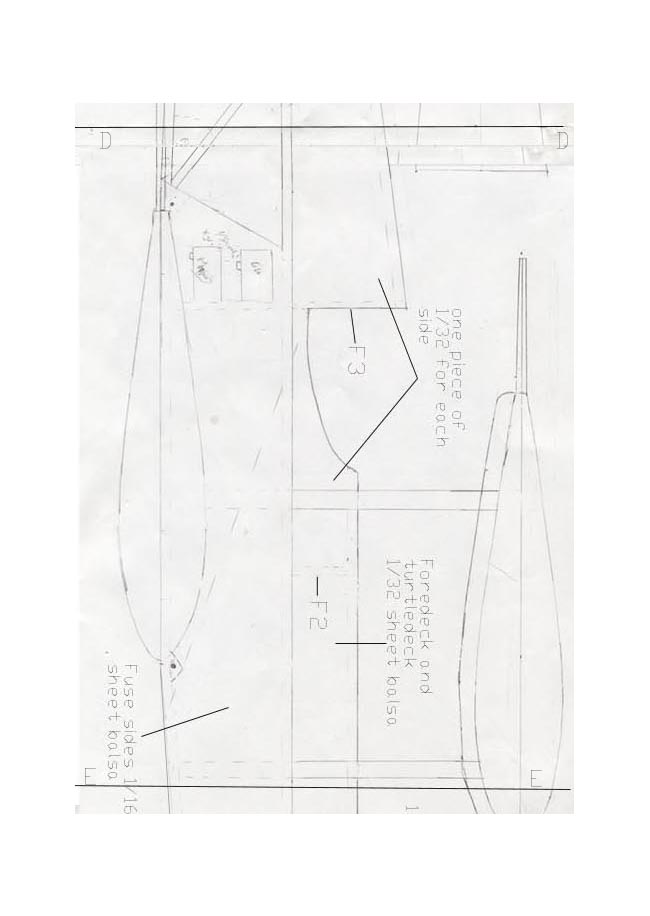
| Fuse Rear Then add the 1/8X1/16 stringer on the top of the formers. The foredeck and turtledeck are cut from 1/32 balsa. Each side is one piece. They are not to be cut from the plan. The way to cut them is to lay out the position of the formers onthe sheet. Then measure the distance from the top of the fuse doubler to the center of the stringer. Do this for all of the formers. Draw a line connecting the lines and draw the cockpit. Test fit and cut a slot for the cabanes. Then glue in place. |
 |
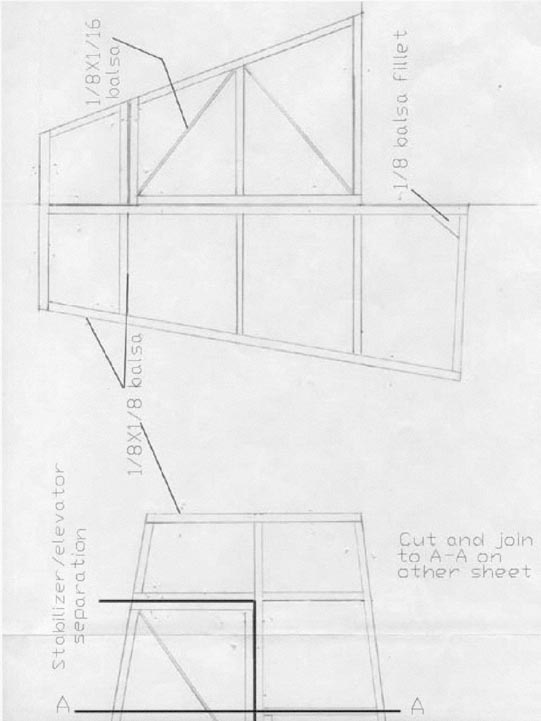 |
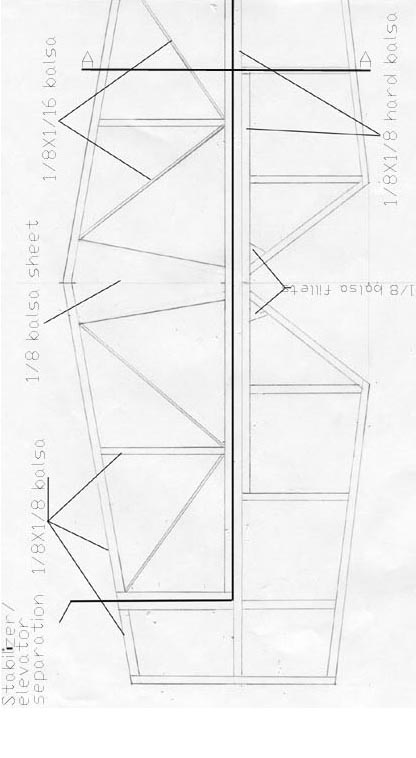
Rudder and part of Elevator The rudder and elevator are made from 1/8X1/8 balsa in a conventional method. Mine are hinged with cut down Sig CA hinges, but any method will do. |
| Stabilizer The heavy line denotes the break from stabilizer to control surface. |
 |
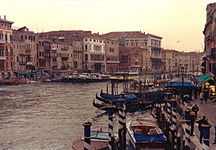 |
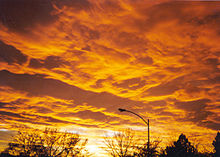
Image title would go here. These are a few of my favorite photographs from my different travels. Feel free to browse them as you like. If you want one click your right mouse button and choose "Save As" from the menu. |
| Image title would go here. These are a few of my favorite photographs from my different travels. Feel free to browse them as you like. If you want one click your right mouse button and choose "Save As" from the menu. |
 |
 |
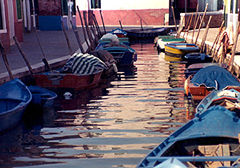
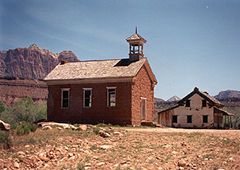
Image title would go here. These are a few of my favorite photographs from my different travels. Feel free to browse them as you like. If you want one click your right mouse button and choose "Save As" from the menu. |
| Image title would go here. These are a few of my favorite photographs from my different travels. Feel free to browse them as you like. If you want one click your right mouse button and choose "Save As" from the menu. |
 |
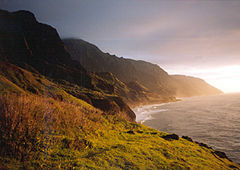 |
Image title would go here. These are a few of my favorite photographs from my different travels. Feel free to browse them as you like. If you want one click your right mouse button and choose "Save As" from the menu. |
| Image title would go here. These are a few of my favorite photographs from my different travels. Feel free to browse them as you like. If you want one click your right mouse button and choose "Save As" from the menu. |
 |
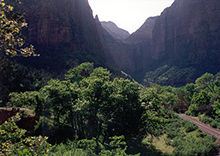 |
Image title would go here. These are a few of my favorite photographs from my different travels. Feel free to browse them as you like. If you want one click your right mouse button and choose "Save As" from the menu. |
| Image title would go here. These are a few of my favorite photographs from my different travels. Feel free to browse them as you like. If you want one click your right mouse button and choose "Save As" from the menu. |
|